Mothers Day Competition T&C’s
🩷 Mothers Day Giveaway 2025🩷
Competitions ends 11.59pm AEST 11th May and winners announced 13th May 2024 on social media and website. Full T&C’s below
Conditions of entry and data privacy statement for the competition Mother’s Day Giveaway 2025
- Competition “Mothers Day Giveaway 2025”
- The competition Win Paint & Prep Packs is organised by “Wagner Spraytech Pty Ltd” (hereinafter called the “Organiser”).
- The competition is organised in the period from “2/5/25-11/5/25” (11:59 PM).
- Entry is voluntary and free-of-charge. The participants (hereinafter any descriptions of people apply equally to men and women) must only bear the costs involved in entry via social media. Entry, as well as the chances of winning, are unaffected by the procurement of goods or the use of services.
- Entry is only possible via the online community Instagram/Facebook. On participating in the competition, the participant accepts the conditions of entry. Furthermore, the participant accepts the terms of use of the respective online community via which (participant) participates in the competition. The terms of use can be accessed at any time via https://www.facebook.com/wagneraustralia.diy/ & https://www.instagram.com/wagneraustralia.diy/
- The competition is on no way connected to the above online community and is in no way sponsored, supported or organised by it. Any questions, comments and complaints must not be addressed to the providers of this online community but directly to the Organiser. By confirming the conditions of entry, the participants acknowledge that they cannot assert claims of any kind against the providers of the online community if they participate in the competition.
- Entry/process
- Entry is only possible via the internet and assumes registration with the online community mentioned in Section 1.4.
- The competition is aimed at fans of the “@wagneraustralia.diy” Instagram/Facebook page, with only these being entitled to participate. All natural persons over the age of 18 years who are subscribed to the above Instagram page may participate (“Participants”). Employees of “Wagner Spraytech Pty Ltd” are excluded from entry.
- In order to take part in the competition, a Participant must: 1. Subscribe to the “@wagneraustralia.diy ” Instagram/Facebooks page. Like the respective post on Instagram/Facebook 3. Tag friends in the comments
- Eligible persons may enter an unlimited number of times. However, anyone Participant is only entitled to win a total of one time and will only be taken into account in the competition once.
- Entry via competition services, automated mass entry methods arranged by third parties, agencies or any other commercial provider is not permitted.
- Entry is only permitted with one account. If it is suspected that a participant enters the competition with several accounts, the organiser reserves the right to take action as described in Section 2.7.
- In the event that these conditions of entry are breached, the organiser reserves the right to exclude the participant from the competition. If applicable, in these cases, prizes may be retrospectively disallowed and demanded back.
- Determination of the winners
- Within 5 working days of the end of the competition period, a total of “1 prize for Australia and 1 in New Zealand” will be drawn from among all participants who are participating and who may effectively take part in the competition in accordance with these conditions of entry.
- The winners are selected at random by the employees of “Wagner Spraytech Pty Ltd” and will be notified.
- The winners are notified directly under the competition posting within 7 days of the end of the competition. Wagner Spraytech will publish the winners in the comments under the competition posting with the request to send their contact details by Private Message (PM) within 7 days of the announcement. The data will be used confidentially. The data received will be used exclusively to process and send the prizes and passed on to our logistics service providers. For more information, please see our data privacy statement at https://www.wagneraustralia.com.au/legal-notices/
- If a winner does not establish contact within the period specified in Section 3.3, the organiser will conduct another prize draw among the remaining participants. The participants themselves are responsible for ensuring that the contact details provided are correct.
- Prizes
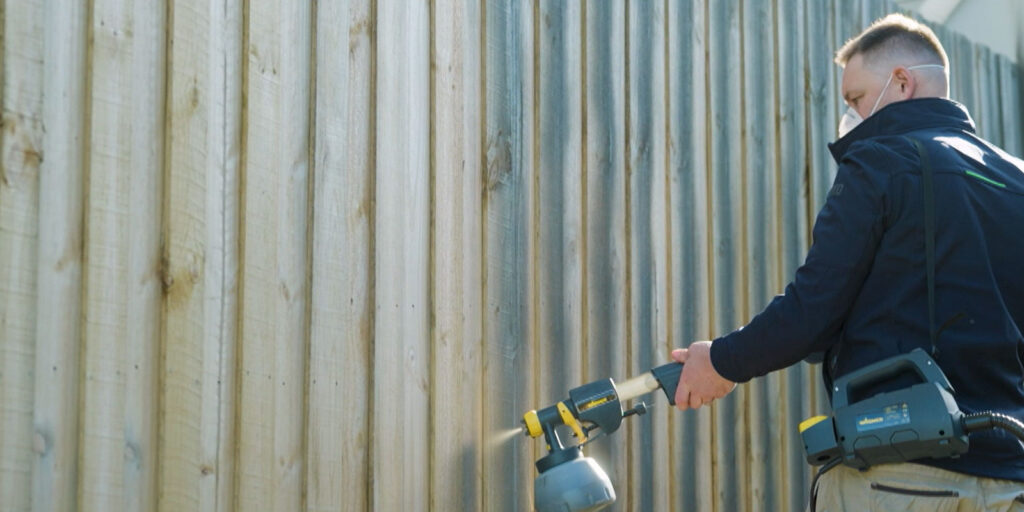
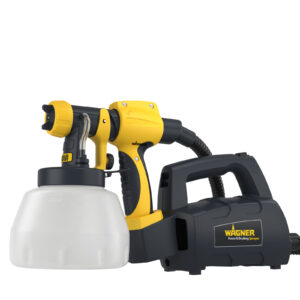
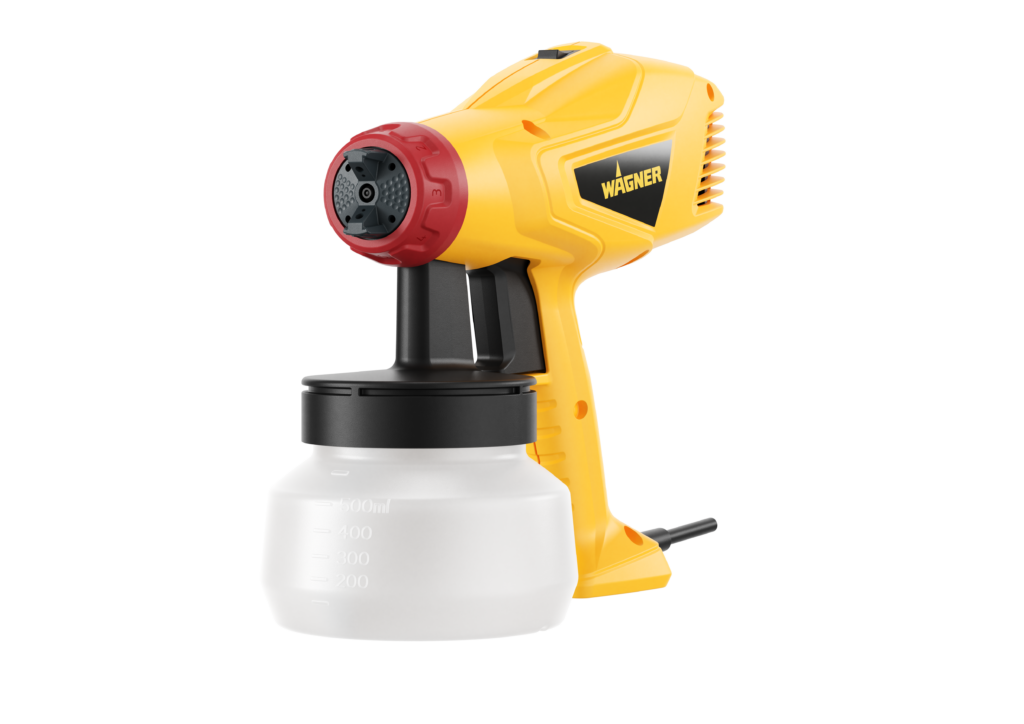
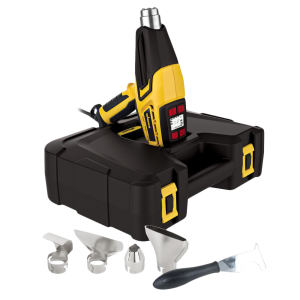
- Winners shall receive a Australia Prize: Wood & Metal W 350 sprayer, Furno 300 Heat Gun & 5’x12′ Drop Cloth in the value of $239RRP AUD and $287RRP NZD. Total Prize Pool: $526RRP
- The organiser or a third party commissioned by it shall send the material prizes by courier or postal service to the winner’s address received by message. The delivery is carriage paid within the Australia/New Zealand Any transport costs and customs duties incurred in excess of this must be borne by the winner.
- The items presented as prizes in the context of the competition are not necessarily identical to the won item. They may deviate in relation to the model, colour, etc. The organiser may choose to select an object of average type and quality for the object being awarded as the prize.
- The organiser reserves the right to distribute further prizes as participant incentives.
- The prizes may not be paid out in cash nor may they be substituted. The prize entitlement cannot be transferred.
- Rights to uploaded material and indemnification
- Offensive, slanderous or malicious contents or contents in violation of the personal rights may not be published. Information or contents which may be harmful to minors may not be distributed. Furthermore, racist or violent publications, publications which glorify violence and publications which are politically extreme, sexist, discriminating or otherwise offensive or which offend, slander, threaten or verbally degrade other persons, ethnic groups or religious denominations, are prohibited. Commercial or political advertising may not be published. This prohibition relates to political contents which are irreconcilable with the constitution of the Australia & New Zealand. The participants agree not to violate any third-party rights (e.g. copyrights, patent and/or trademark rights). The organiser reserves the right to delete participant’s contributions or exclude them from the competition if they violate any of the above provisions.
- By uploading their contribution, the participant declares that the latter is free from third-party rights, meaning that the contribution is either produced by the participant or that the author has given their approval and that the consent of any other persons visible in the contribution has been obtained, as well as that evidence of this consent may be presented to the organiser at any time. The participant further warrants that no other third-party rights, particularly no copyrights or trademark rights, are violated and that the contribution does not contain any contents which glorify violence, are relevant under criminal law or are pornographic or otherwise offensive nor any contents which are in violation of the law.
- The participant shall indemnify the organiser from all claims which are or may be asserted against the organiser by third parties due to the contribution. The participant further declares their willingness to support the organiser in defending against such claims at any time in a reasonable way. This shall not affect any compensation claims by the organiser against the participant in excess of this.
- The organiser is not obligated to review the contribution uploaded by a participant for potential violations of third-party rights. However, the organiser is entitled to reject or delete contributions or exclude participants from entry at any time without providing explanations and without prior announcement if it considers the contents to be in violation of the law, to offend common decency or be otherwise inappropriate, based on its own factual review.
- Rights of use
- By uploading the contribution, the participant explicitly agrees that the organiser may use, distribute or otherwise make publicly available to third parties the contribution uploaded by the participant – subject to a revocation pursuant to Section 7.3 of these conditions of entry – with or without specifying their name and/or Instagram/Facebook profile name for the purpose of processing this competition and presenting participant contributions in the context of this competition in all media, especially online media (such as the online communities specified in Section 1.4. or on its own website). Moreover, the organiser may edit the contributions for these purposes and – if required – grant rights of use to them to third parties. Such rights shall be granted free of charge without restrictions as regards space, content or time.
- By uploading the contribution, the participant hereby further explicitly gives their consent that the organiser may also use, distribute or otherwise maker publicly available to third parties the contribution in online and offline media for economic purposes, including for PR purposes. The organiser may also edit the contributions for these purposes and – if required – grant rights of use to them to third parties. Such rights shall be granted free of charge without restrictions as regards space, content or time. The participant may object to economic use by the organiser if this is required to protect the legitimate interests of the participant, particularly their personal rights.
- The participant waives the right to be named as the author of the contribution. In cases in which the participant revokes their right to use the contribution pursuant to Section 6.1, the entitlement to further participate in the competition shall be revoked automatically. The participant shall not suffer any further disadvantages.
- Data protection/consent for use of personal data
- As a prerequisite for competition entry, you must register for the competition pursuant to Section 2.3. In the context of the competition, your contribution may be published in online media, particularly on the organiser’s campaign pages or other websites, with or without naming you or your Instagram profile name.
- Personal data shall be processed and used exclusively to implement the competition.
- By uploading the contribution, you agree towards “Wagner Spraytech Pty Ltd” that your contribution, including e.g. an image and your personal data saved in your Instagram/Facebook profile, may be saved and processed for entry in the competition. You further agree that the contribution uploaded by you – if applicable stating your name or Instagram profile name – may be published under “@wagneraustralia.diy” or on other websites of the organiser, including for advertising and PR purposes. Furthermore, you agree that a link may be set up from the campaign pages to your profile in the respective online community (Instagram/Facebook). This shows all users of the respective campaign page and your profile that you have participated in the “Win Paint Prep Pack” Furthermore, your name and user name and – depending on the privacy settings in your profile – further information will become visible to third parties. You may withdraw your declaration of consent any time effective for the future in relation to the organiser or by email to “fmb_aumb_marketing@wagner-group.com”. No special fees (in excess of the regular transmission fee) are incurred. If consent is not granted or is revoked, (further) entry in the competition is not (no longer) possible.
- If you win a prize, your data are passed on to third parties, to the delivery company commissioned with the delivery, to the extent that this is required to dispatch/deliver your prize to you. Your personal data are not transmitted to other third parties and your data are not used for advertising purposes without your consent, except where we are obligated to provide the data by law or if we involve third parties subject to professional secrecy in order to assert our claims.
- You can find out more details regarding the processing and use of your personal data when using the online communities in the respective data privacy conditions, which can be accessed at any time on Instagram: https://www.facebook.com/about/privacy/
- Limit to liability
- All disclosures by the organiser, particularly as concerns to the publication of the winners’ names etc., are made subject to change.
- To the extent that a winner asserts claims in the context of the received prizes, they must be addressed directly to the manufacturer/retailer, supplier, tour operator or other service provider, to the extent that this is legally permissible. If the organiser incurs claims in this regard, these shall be passed on to the respective winners.
- The organiser does not accept liability for the availability of the online community.
- In particular, the organiser does not accept liability for damage caused by transmission errors, delays or disruptions, by data faults or deletion, viruses or in any other way while participating in the campaign, except where the organiser causes such damage intentionally or by gross negligence. This shall not affect liability due to culpable loss of life, bodily harm or injury to health.
- Data privacy statement for the competition
- The organiser is the controller for processing your personal data in the context of this competition.
- Scope, purpose and legal basis for the data processing
In terms of the scope and purpose of the data processing, a distinction must be made between mere entry in the competition on the one hand and processing of the prize with the winner on the other hand.
We process the personal data of the participants in order to implement the competition, in particular in order to determine whether the participants are entitled to enter the competition and to determine and notify the winner. If you do not provide us with the specified data, you will not be able to participate in the competition or it would not be possible to contact you to notify you of winning.
In the event that you win a prize, we will further request the following data:
- Your full name
- Your mailing address (street, building number, postcode, town/city)
These personal data exclusively serve the purpose of processing the modalities relating to the prize.
- Recipients of the personal data
The organiser itself carries out the organisational processing of the competition. When implementing events, it may become necessary for individual data relating to the winner and additional guests to the companies commissioned with organising the event.
- Storage duration
The organiser will generally save your data for the duration of implementing and processing the competition. Except where statutory retention duties apply, the data will be deleted immediately after the competition has been processed.
The information posted by you as part of this competition generally remain on Instagram/Facebook and can be accessed on the “@wagneraustralia.diy” Instagram/Facebook page for as long as this page is not deactivated and you yourself delete neither the comment nor your Instagram account. For more information on how your data are processed on the Instagram page, please see the Instagram data privacy statement at https://www.facebook.com/privacy/explanation.
- Your rights in the context of the processing of your personal data
In the context of your personal data:
You are e.g. entitled to
- check whether and which of your personal data we have saved and receive copies of these data,
- demand the correction, addition to or deletion of your personal data where these are incorrect or where they are not processed in accordance with the law,
- demand that we restrict the processing of your personal data, and
- under certain circumstances object to the processing of your personal data,
- demand data portability,
- in Australia/New Zealand, lodge a complaint with the competent data protection authority (for further information, see https://forms.oaic.gov.au/forms/complaint
- Contact details for data protection matters
If you have any questions or concerns regarding the processing of your personal data, please contact our data protection officer at:
Email: “fmb_aumb_marketing@wagner-group.com”
Please read our general data protection guideline “https://www.wagneraustralia.com.au/legal-notices/” applicable otherwise on how we handle your personal data.
- Miscellaneous
- The “law of the Australia & New Zealand” applies.
- If any of these provisions are or become invalid, this shall not affect the validity of the remaining conditions of entry.
- The organiser reserves the right to amend these conditions of entry if the change is necessary and if this is reasonable for the participant taking into account the organiser’s interests. If the participant does not object to the change within the period set by the organiser, the change is deemed to have been approved. The organiser shall notify the participant of this circumstance in the change notice.
The organiser reserves the right to cancel the competition for important reasons. A cancellation for important reasons may e.g. occur if proper implementation of the competition can no longer be guaranteed for technical or legal reasons. In the event of a cancellation, no claims of any kind may be asserted against the organiser.
Legal recourse is excluded.
Version: 30/4/25

 AUD
AUD  NZD
NZD
