Projects
Get inspired by real projects made with Wagner tools.
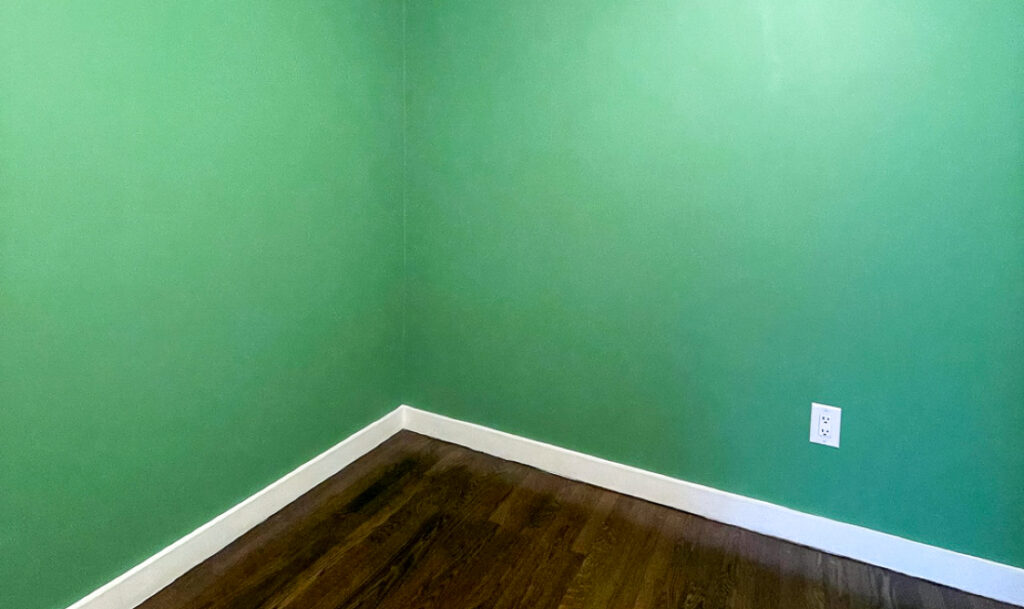
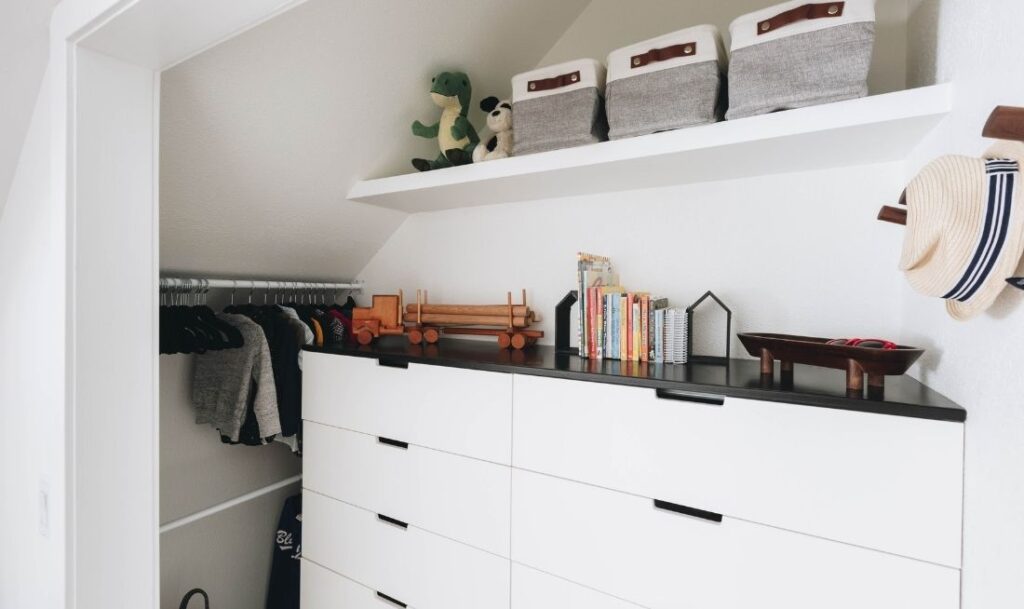
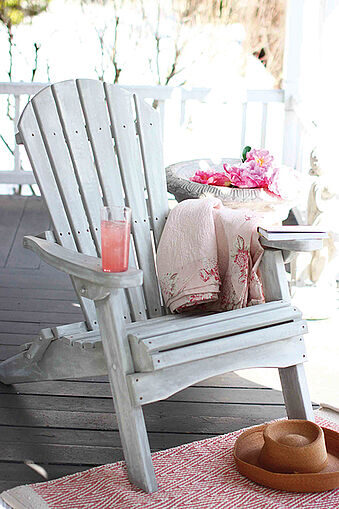
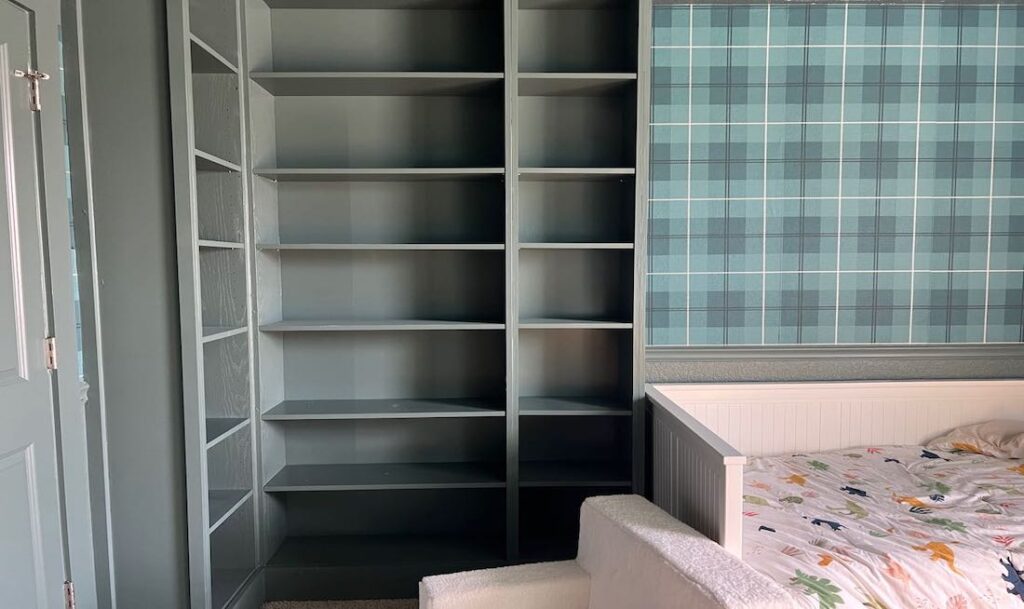
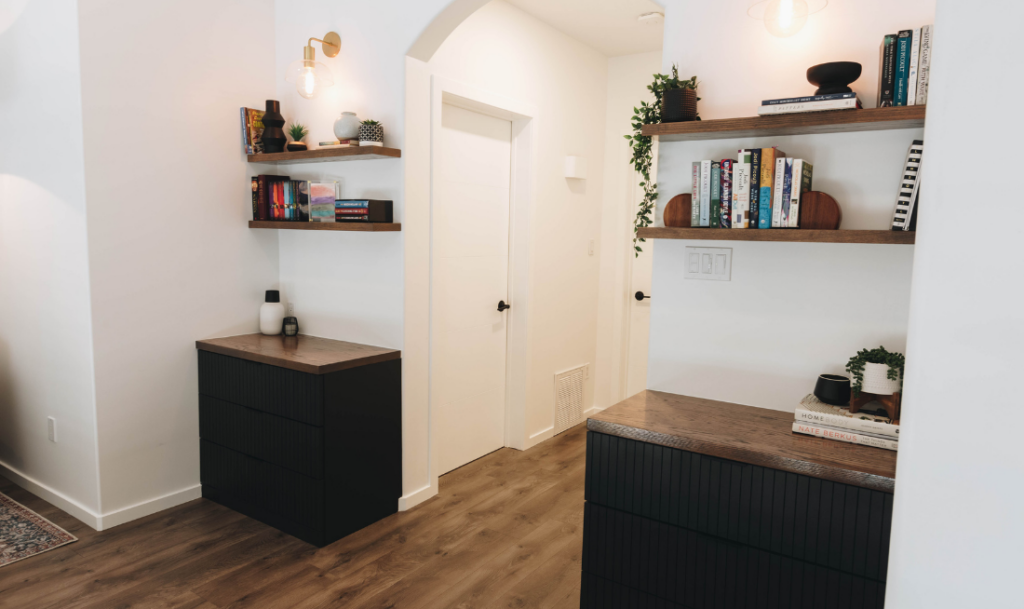
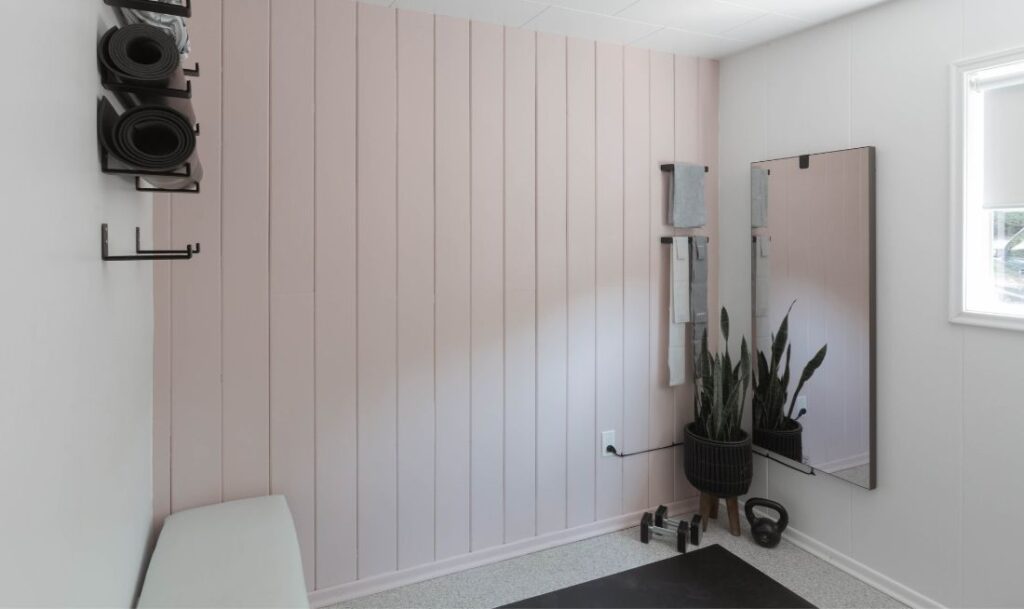
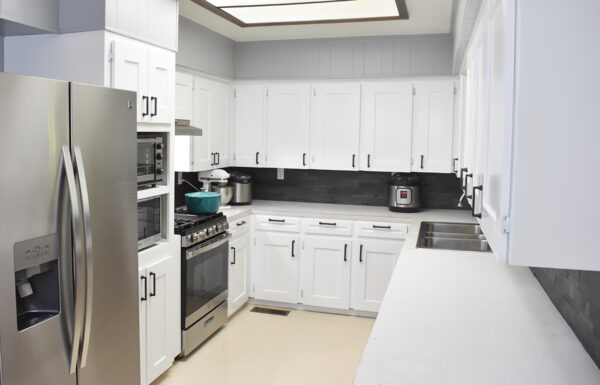
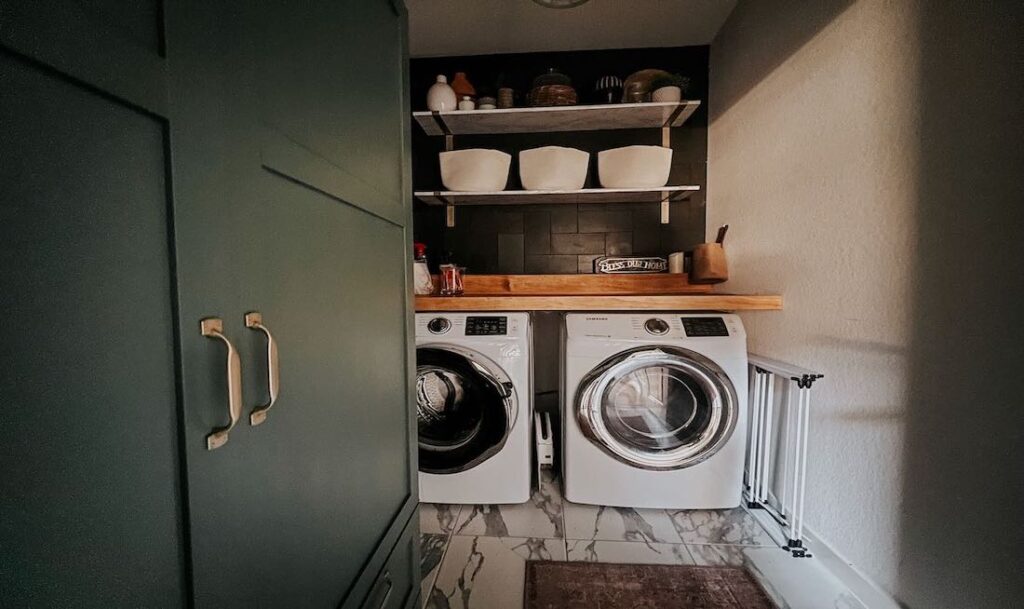
From fresh home makeovers to clever DIY builds, these projects show how easy and rewarding painting can be with the right tools. Whether you’re new to it or a seasoned pro, there’s something here to spark your next project.


Showing 1-12 of 29 results