
Paint your Fence!
PREPARATION
STEP 1 – TAPING AND TARPING
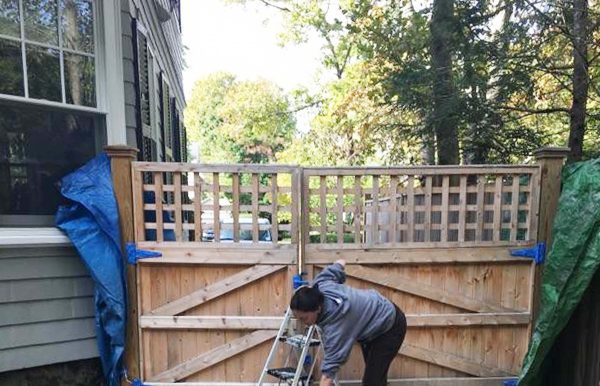
Use a tarp or drop cloth to cover the driveway, fence edges, or any places where the fence meets a house or garage.
STEP 2 – CLEAN
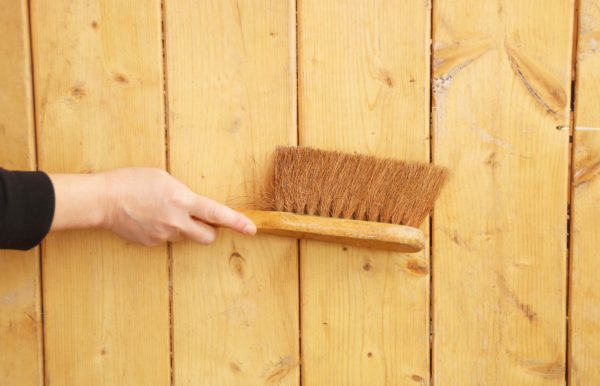
Use a counter brush to remove any dust, cobwebs, or debris on the surface of the wood and any trellis work.
*For additional prep, if the surface has been painted, you may need to sand and remove loose paint with a Furno heat gun and putty knife. If mold and mildew are present, use a pressure washer to fully clean the surface prior to painting.
PAINTING
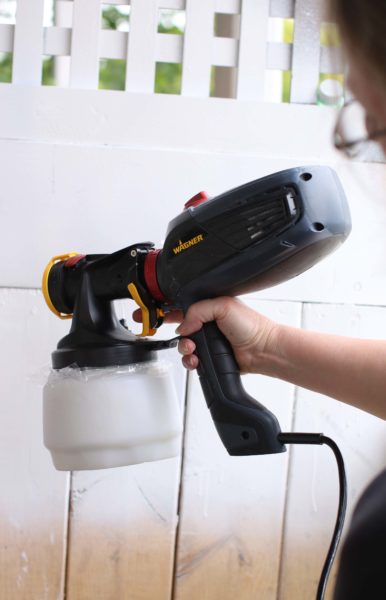
STEP 1 – SPRAY FENCE
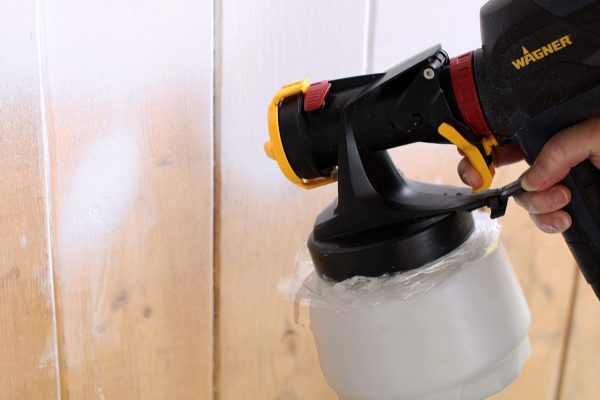
Line the cup of the iSpray nozzle with a cup liner. Fill the cup with paint and attach the front end to the FLEXiO 2000 sprayer. Set the iSpray nozzle to a high-speed horizontal spray for best results and coverage. Hold the sprayer approximately six to eight inches away from the surface and spray horizontally from side to side.
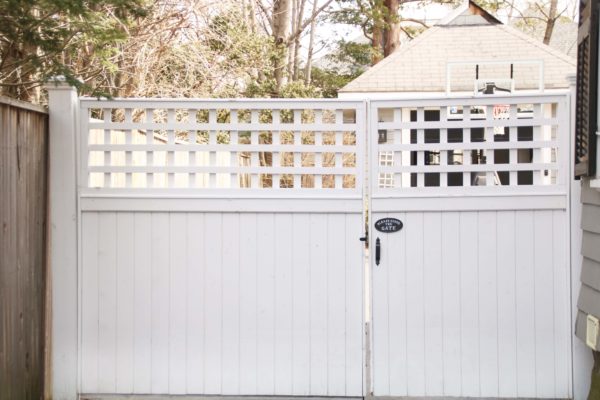
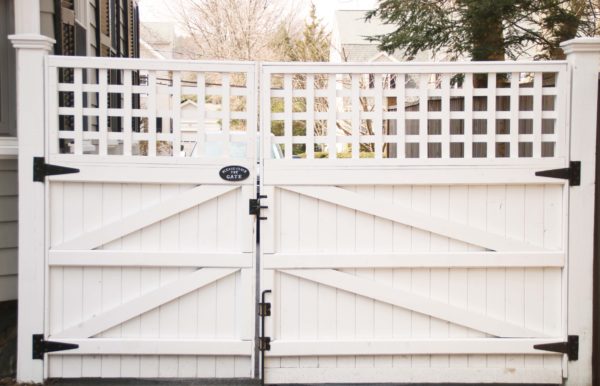
STEP 2 – GATES, CRACKS AND CREVICES
If the fence has an opening gate, be sure to open the gate fully and spray in all of the cracks and crevices. Switch the iSpray nozzle to a vertical spray position to easily paint gate seams as well as end posts and finials.
STEP 3 – TRELLIS
To spray the trellis, set the iSpray nozzle to a horizontal spray pattern and spray from side to side starting at the top. Move slow enough to make sure you cover all the indents and edges of any intricate cut work.
STEP 4 – TOUCH-UPS
Once the fence painting is complete, revisit each section once more (both top and bottom) and retouch any spots that have a thin coat of paint or show bare wood. Then enjoy the even finish over all the intricate parts of your fence, both front and back.