If you ever feel the need to update your wallpaper or you simply want to get rid of it, keep in mind that removing it presents a chance for a fresh start. When equipped with the appropriate tools the job becomes doable, and the outcomes will be rewarding. Utilise our guide filled with valuable suggestions, in conjunction with our steam wallpaper remover SteamForce to begin this process of creative revitalisation.
How to remove wallpaper
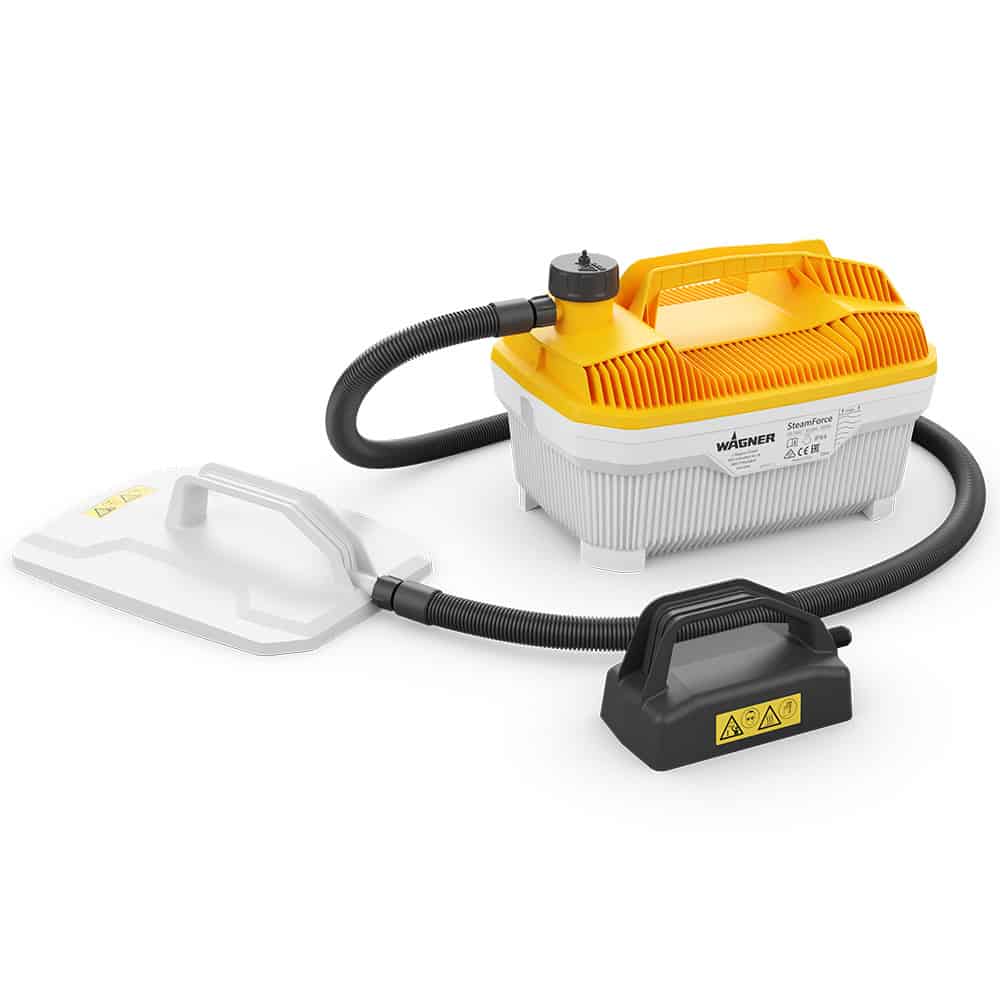
Tools & Equipment required
- SteamForce Wallpaper Steamer
- Craft knife, fork or perforation tool and possibly a metal ruler
- Spatula
- Dropsheets for floors and furniture
- Masking tape ideally combined with a plastic sheet for light switches and sockets
- Jug for water
- Gloves and goggles
- Rubbish bags
Step 1 - Prep
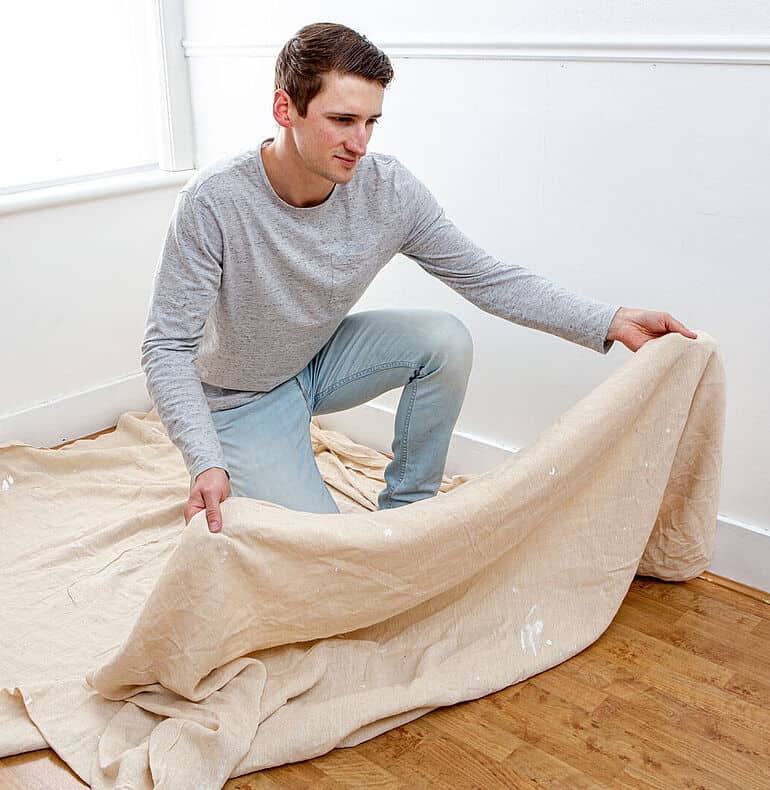
Before beginning the process of stripping wallpaper, it’s essential to take measures to minimise the mess. Covering everything in the room will make the cleanup much easier once the task is completed.
If possible, clear the room of furniture to facilitate movement but if this isn’t feasible moving the furniture to the center of the room and covering it with drop sheets for protection is advisable. Additionally, don’t forget to safeguard your floors. Opting for Wagner’s dropsheets can provide protection against water spills.
Ensuring your safety is also crucial. It’s important to cover lights, switches, and sockets to prevent any damage. Using masking tape or a combined masking tape and drop sheets can expedite the process and provide effective coverage.
Step 2 - Wall Prep
Remember to clear all items from the walls, such as hooks or nails.
If the wallpaper has a vinyl finish or has been painted, begin by scoring the paper with a craft knife or an old kitchen fork, being careful not to damage the wall and plaster underneath. Perforating the paper will allow steam to penetrate the wallpaper more quickly and loosen the wallpaper paste.
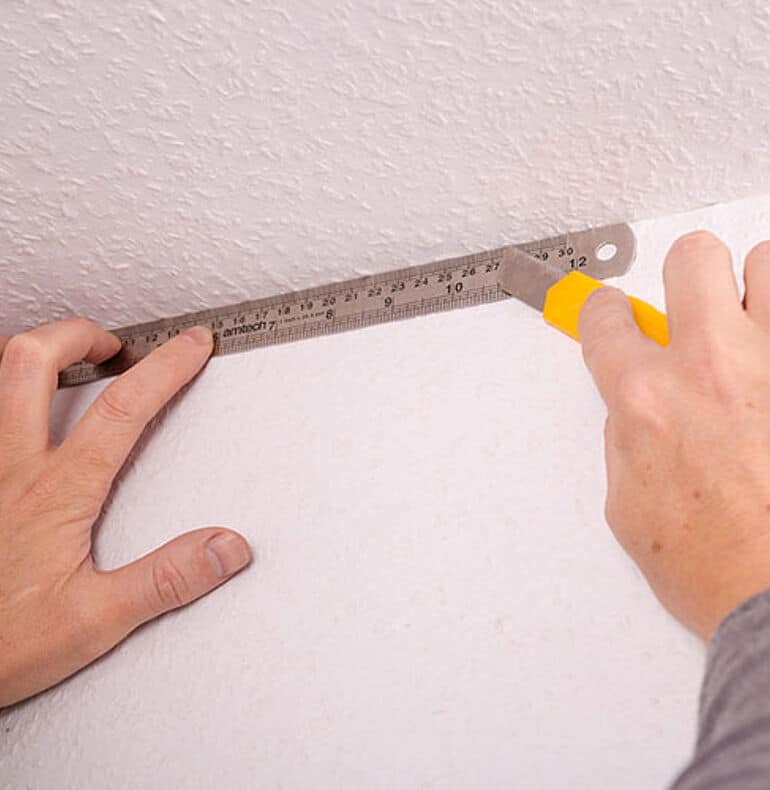
If there are multiple rooms to strip in your home, it’s best to use a wallpaper scoring tool to speed up the process. If you’re only dealing with the ceiling or a single wall, cut along the edge using a knife and metal edge between the two surfaces to avoid unintentionally removing paper you want to keep.
Step 3 - Fill the steamer
Start by carefully reading the instruction manual for the wallpaper steamer and paying close attention to the safety instructions. Then, follow the manual’s guidance to set up the steamer properly.
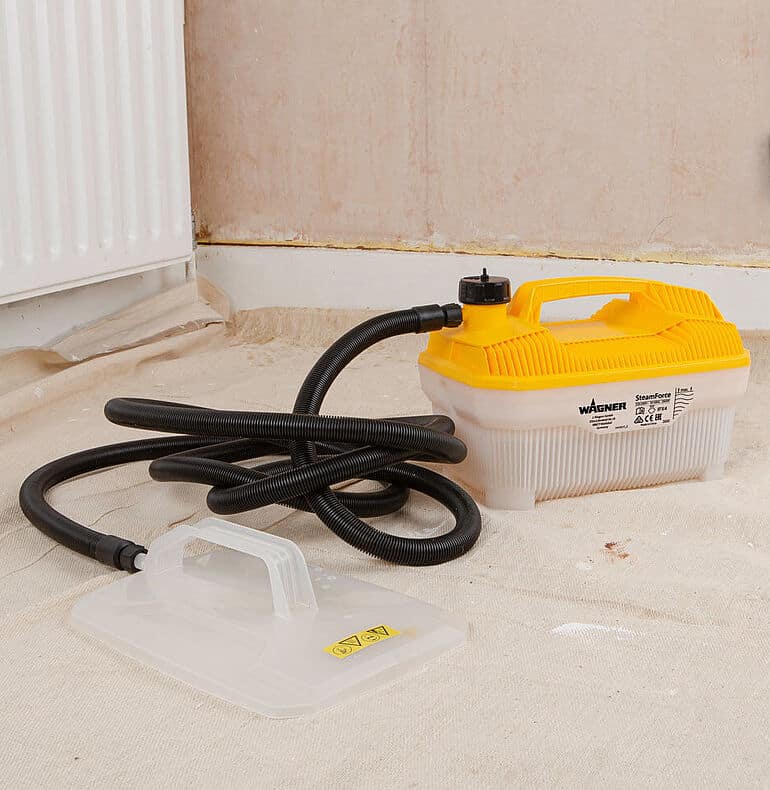
Place the wallpaper steamer on top of an old piece of wood or a metal tray to protect the floor underneath and ensure that the steamer remains level, preventing any damage to the heating element.
For a quicker wallpaper removal process, fill the steamer with warm tap water to expedite the boiling time. Using a jug can make it easier to pour the water into the steamer. After filling it up, plug in the steamer and wait for the water to boil. Once you see steam coming from the steam plate, the steamer is ready to be used.
Step 4 - Start at the top
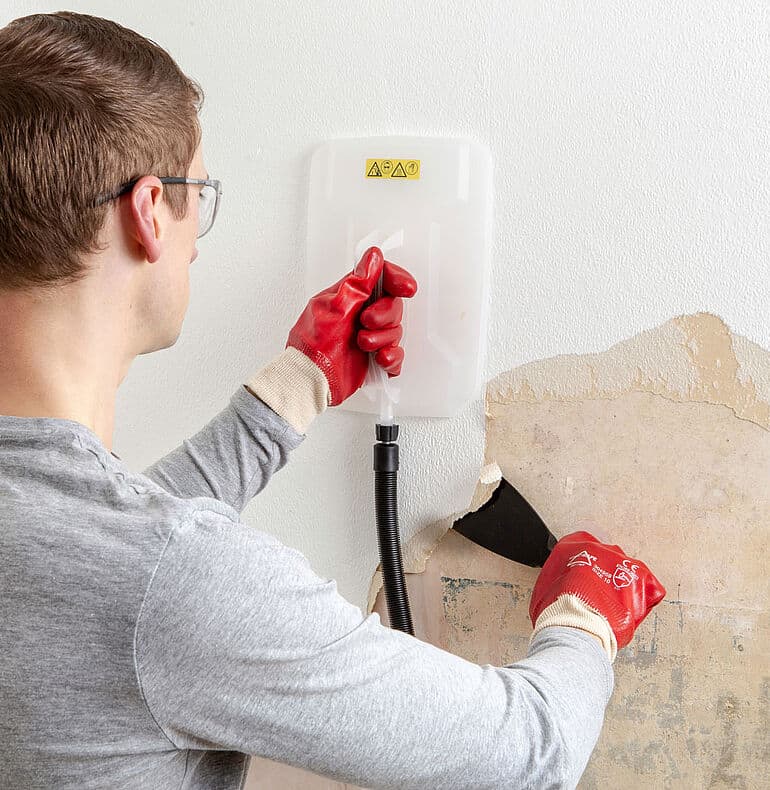
Commence from the top of the wall and progress downwards. When dealing with high walls or reaching the ceiling, use a standard or platform ladder ensuring that the unit remains flat and stable.
Hold the steam plate against the wallpaper for no more than 30 seconds at a time. The steam will seep through the wallpaper, loosening it from the wall by moistening the old adhesive paste underneath. After steaming an area, test the ease of removing the paper. Utilise a scraper to get underneath the paper and scrape it off. If the paper is not coming off easily, reapply the steam plate to the surface, being cautious not to leave it for too long as this may cause damage to the underlying surface.
Step 5 - Safety
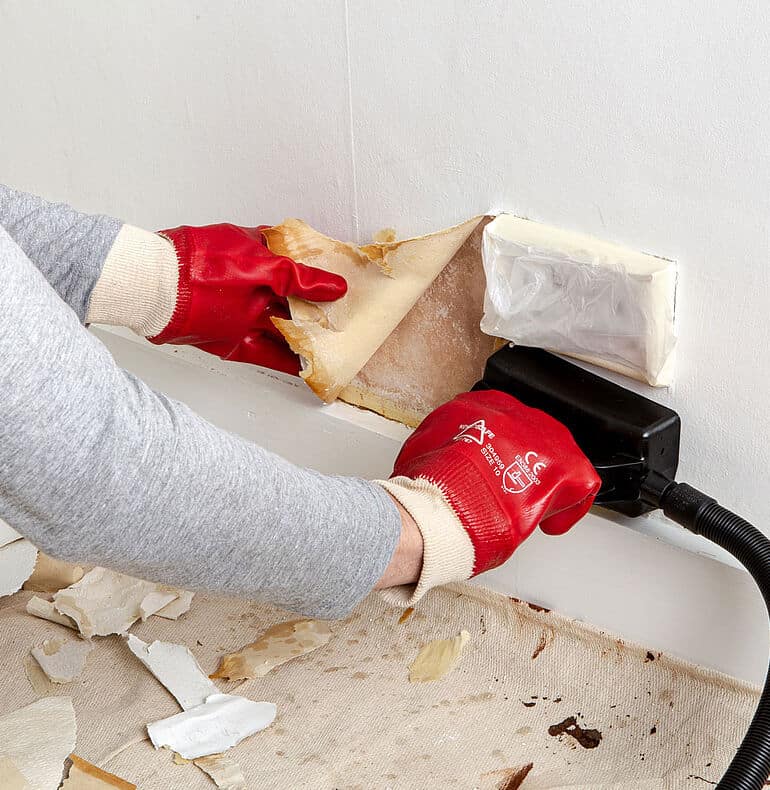
Exercise caution when working around sockets or switches. A small steam plate can be beneficial in limited spaces. Try to remove as large a piece of wallpaper as possible, as this will expedite the process and minimise the need for extensive cleanup.
When working overhead, beware of hot dripping water from the steam plate. It’s important to wear long sleeves, gloves and glasses and position yourself to one side of the steam plate, not directly under it.
Step 6 - Keep tidy
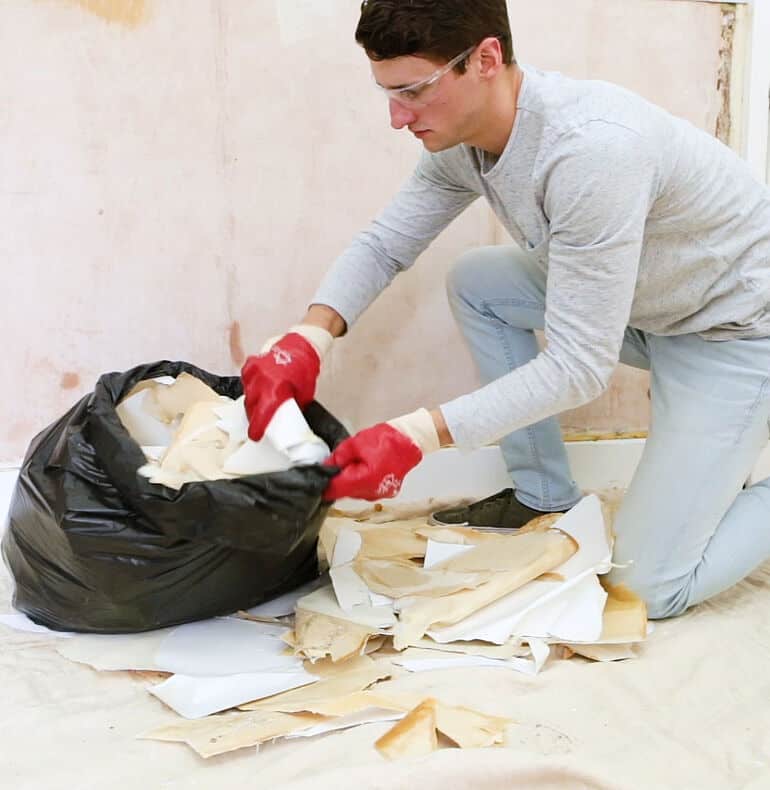
If the paper is left to dry it can stick to itself and the dust sheet which makes it more difficult to remove so tidy as you go.
Also periodically look and check the water level.
Do not allow it to run dry as this will cause the automatic cut off switch to activate and temporarily cut the power to the machine. This will interrupt your work and can damage the unit.

 AUD
AUD  NZD
NZD